
Belgian-style
Deep pockets want a looser pour and a bigger measure — the grid has more room to fill before the batter sets.
- Pour
- Pour 1/2 cup
- Rest
- Rest 20–30 min
- Batter
- Batter like heavy cream
 Bertrando's
Waffle Kitchen
Equipment & Batter
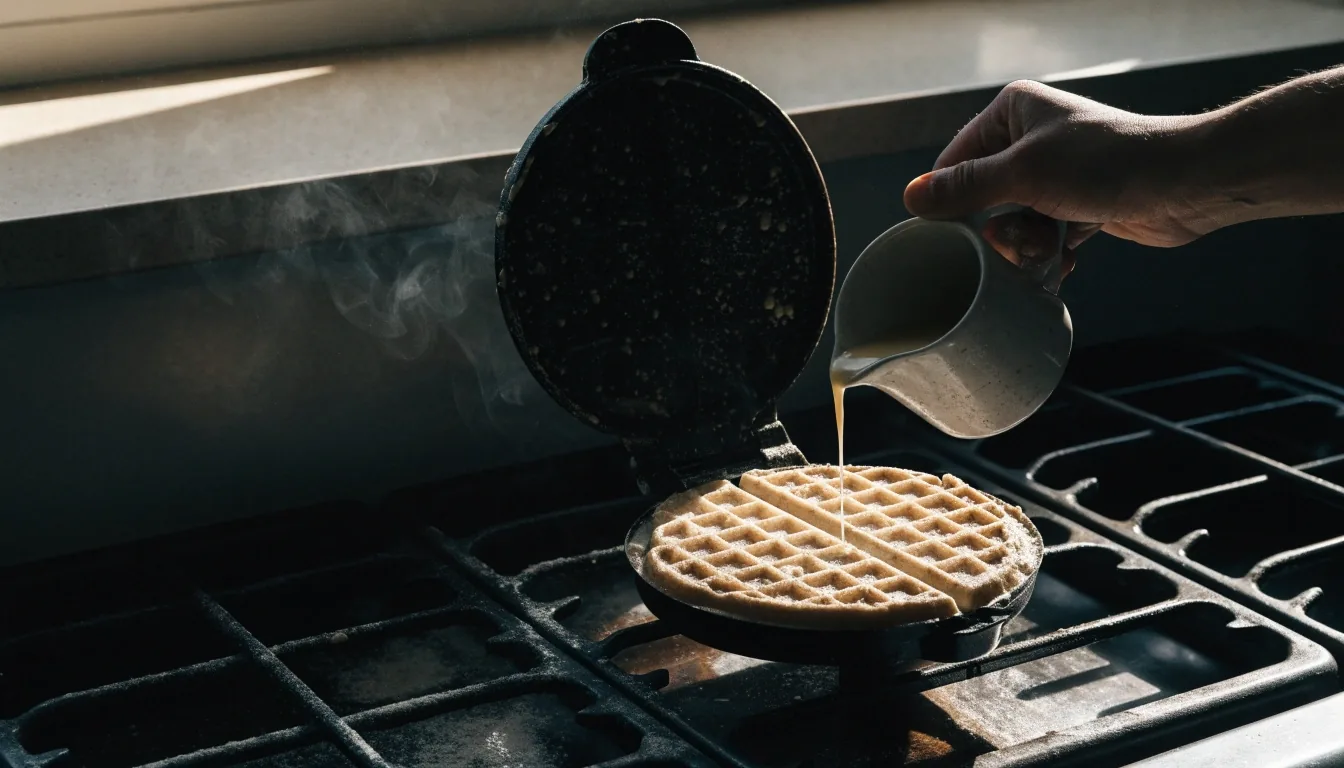
Your iron and your batter decide most of what comes off the grid. Here is how we keep a homemade waffle recipe repeating itself on a Seattle counter instead of drifting batch to batch.
The two variables
There is a moment in every home waffle project when two batches made from the same recipe come out different. Same ingredients, same bowl, same morning. The variable is almost always one of two things: how hot the iron actually was, or how the batter was mixed and rested.
This page is about those two things. Not new recipes, but the mechanical details that make the recipes you already have behave predictably. If your waffles are inconsistent from batch to batch, the answer is here rather than in a new formula.
Dead iron, cold first pour — the story behind every pale waffle.
10 min minimum
Ribbons off a spoon — heavy cream, not milk, not dough.
1 tbsp per fix
Twenty minutes is enough. Overnight in the fridge gives yeast batters the flavor and lift that quick batters cannot carry.
20 min / overnight
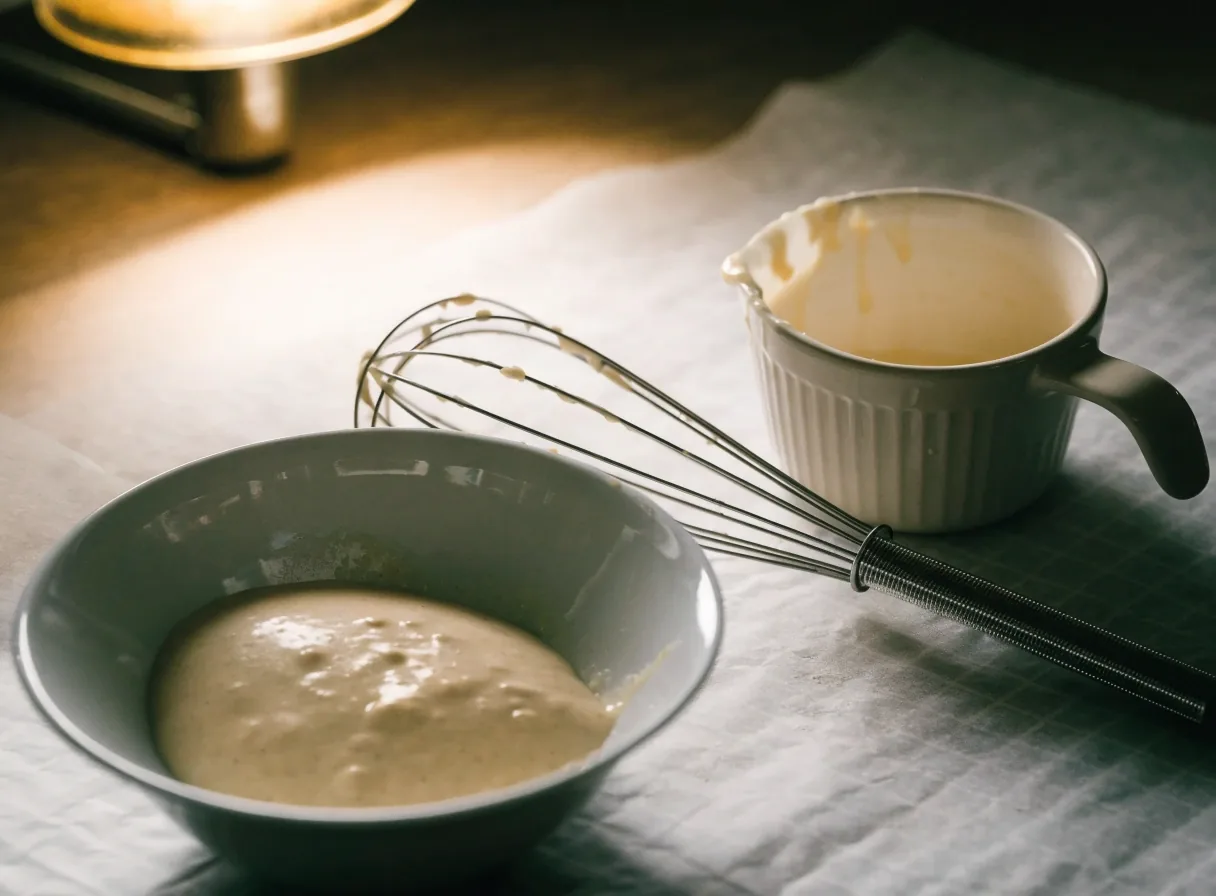
The working set: bowl, measure, whisk — the iron just off frame, still heat-soaking.
Act one of the pour
Most irons have a light that switches off when they reach temperature, and most cooks trust it too early. That light measures the plate temperature at one spot. It does not mean the whole grid is heat-soaked, and it definitely does not mean the grid is ready for batter on the first cycle.
The practical rule is simple: plug in the iron before you start mixing, and let it run through at least one full heat cycle. Ten minutes is a reliable minimum. If your first waffle is always the palest one in the batch, this is why.
A fully heated iron produces immediate steam when batter hits the grid. That steam is a signal. If the batter sits quietly and starts to bubble slowly, the iron needs more time, and that waffle will be pale and chewy regardless of how good the homemade waffle house recipe is.
On flip-style irons, let both plates reach temperature before the first pour. On thin irons, expect a longer wait; they have less metal to hold heat, and the recovery time between waffles is longer.
The method spine
Seven steps in the order they happen at the counter. The lit rail marks the step the iron is on.
1
Everything you mix takes minutes the iron is already spending coming up to temperature.
2
The ready light is one spot, not the whole grid. Give it a full cycle.
3
Pour like heavy cream, ribbon off a spoon. Milk-thin and dough-stiff both fail on the grid.
4
Twenty minutes tightens the batter as the flour drinks. A splash of milk puts it back to pouring.
5
A disher or ladle settles one volume for the whole batch instead of eyeballing each pour.
6
If it resists, the last pour was too big. Overfill burns onto the hinge where cleaning gets hard.
7
Heavy flow means wet inside. When it thins and the edges take color, the waffle is done.

When it reads off
Steam
Runs heavy while the inside is wet, thins the moment it has set. Follow the drop, not the stopwatch.
Edge color
Deep golden edges mean set. Pale edges mean underdone. Dark edges with a pale middle mean hot spots — preheat longer, not cook longer.
The honest test
Pour slightly less than you think you need, close the lid, and watch the first thirty seconds: if the batter reaches the edges you're home, if it oozes, that was your ceiling.
The variations ledger
Waffle batter should pour like heavy cream. It should ribbon off a spoon and settle into the bowl in a soft mound rather than running flat. If it pours like milk, it's too thin. If it stands up like cookie dough, it's too thick — and no amount of waffled house recipes will save a bowl that pours wrong.
Deep pockets want a looser pour and a bigger measure — the grid has more room to fill before the batter sets.

Little sugar to color the crust means the dial goes a notch higher and each waffle comes off faster.
The minimum useful rest is about twenty minutes. That is enough for the flour to absorb liquid and for the batter to relax. The best rest for a yeasted recipe is overnight in the refrigerator, which adds flavor development that quick batters cannot match.
There is a limit on the other end: batters left out at room temperature for more than a couple of hours can start to smell sharply fermented and lose structure. Refrigerate anything you are not cooking within an hour.
Portioning
Every iron has a sweet spot for batter volume, and the number is different for every model. A third of a cup is a good starting point for most standard round or square irons; Belgian-style grids usually take closer to half a cup.
Once you know the number, use a disher or a ladle so every waffle in the batch starts from the same volume. That alone fixes most of the inconsistency people attribute to the recipe.
Don't press the lid down. If the iron won't close with light pressure, you've overfilled it, and the excess batter will burn onto the hinge where it's hard to clean.
After the pour
The trick is not scraping harder. It is almost always a cooler iron and a leaner batter next time.
Wait until the iron is completely cool before cleaning. Most nonstick grids wipe clean with a damp paper towel once they reach warm.
Unless the manufacturer says it is safe. The surface is what makes the next waffle release without sticking.
Usually the iron was too cool. Before scraping, check your preheat time and the fa content of the batter.
Wipe the exterior with a damp cloth, coil the cord loosely, and store the iron closed. Loose coiling prevents the kind of internal damage that shows up as uneven heating later.
Dried batter in the tray creates a smell the next time the iron heats up, and it can bake onto the plate surface over time.
Questions we keep getting
Start with one-third cup for a standard round or square iron, and about half a cup for a deep Belgian-style grid. Pour slightly less than you think you need, close the lid, and adjust on the second waffle.
Slightly lumpy. Lumps mean you stopped mixing while there was still dry flour in the bowl, which is exactly what you want. Overmixed batter develops gluten and produces a chewy, tough waffle.
The iron wasn't heat-soaked. A light that switches off doesn't mean the whole grid is at temperature. Let the iron run through at least one full heat cycle, about ten minutes, before the first pour.
Yes. Cover it, refrigerate, and bring it back to room temperature for about an hour before cooking. Cold batter bakes slowly and browns unevenly, especially in yeasted recipes.
Where to go next
Two variables move a batch: heat and batter. Once both hold steady, the recipes you already keep behave predictably and a homemade waffle recipe stays worth repeating.
Troubleshoot my texture
If a waffle came off pale, tough, or stuck, send us the recipe, the iron, and the pour — a few words is enough for us to answer on the same day.